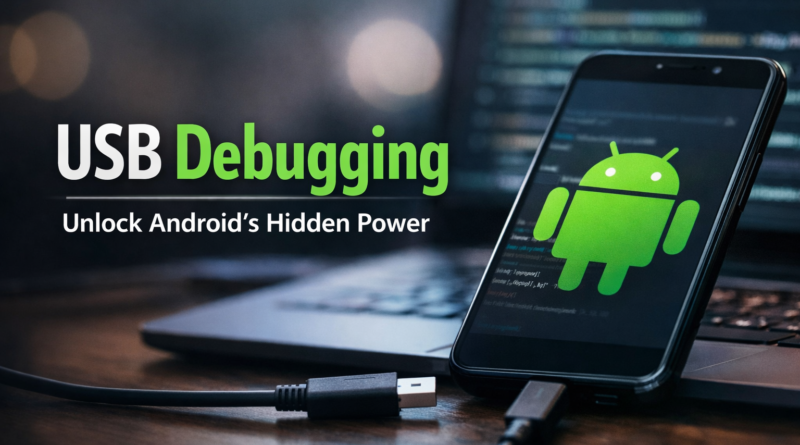
USB Debugging : The Hidden Power Tool in Your Android
If you’ve ever poked around your Android phone’s Developer Options, you’ve probably seen a setting called USB Debugging and thought,
“Sounds risky… better not touch that.”
Fair reaction – but here’s the truth: USB Debugging is one of the most useful hidden features in Android. And no, it’s not just for developers.
Let’s keep things simple and real.
What is USB Debugging on Android?
USB Debugging lets your Android phone talk directly to a computer.
Normally, when you plug your phone into a PC, you can:
Transfer photos
Copy files
Charge the device
That’s it.
But when USB Debugging is turned ON, your computer gets permission to:
Send system-level commands
Install or remove apps directly
Access internal phone data (logs, diagnostics, backups)
Think of it as switching from “guest access” to “admin access.”
Who should use USB Debugging?
Despite the scary name, USB Debugging isn’t just for coders.
It’s commonly used by:
🔧 Developers
To test apps, find bugs, and see real-time performance on actual devices.
🤓 Tech-Curious Users
People who like customizing their phone, removing bloatware, or experimenting safely.
🧑💻 Power Users
Anyone who wants deeper backups, screen control, or advanced system tools.
😬 People in Trouble
Broken screen? Touch not working? USB Debugging can help recover data using a PC.
What can you actually do with USB Debugging?
Once it’s enabled, a lot of powerful options open up:
✔ Remove Bloatware (ADB)
Using Android Debug Bridge (ADB), you can uninstall pre-installed apps your phone normally won’t let you remove.
✔ Mirror & Control Your Phone Screen
Tools like Scrcpy allow full screen mirroring – and even control your phone with a mouse and keyboard.
✔ Install Custom ROMs or Root
If you’re into Android modding, USB Debugging is mandatory for unlocking bootloaders and flashing custom Android versions.
✔ Take Advanced Backups
You can create deep backups that go beyond photos and contacts – perfect before resets or repairs.
How to Enable USB Debugging on Android
Don’t worry – this is easy and reversible.
Step 1: The “Secret” 7 Taps
First, you have to unlock the Developer Options menu itself. It’s hidden by default to prevent people from accidentally changing things.
Open your Settings.
Scroll to the bottom and tap About Phone (on some phones, it’s under System > About Phone).
Look for the Build Number.
Note: If you don’t see “Build Number” immediately, look for Software Information or Version first.
For Xiaomi/Poco users: Tap the MIUI Version (or HyperOS version) instead.
Tap that Build Number (or Version) 7 times rapidly. * You’ll see a little toaster message saying, “You are now 3 steps away…” and finally, “You are now a developer!” * You might be asked to enter your lock screen PIN to confirm.
Step 2: Find the New Menu
Now that the door is unlocked, you have to find where it appeared.
On Stock Android (Pixel, Motorola, Nokia): Go to Settings > System > Developer options.
On Samsung: Go to Settings > Developer options (it usually appears at the very bottom of the main list).
On Realme/Oppo/Vivo: Go to Settings > Additional Settings > Developer options.
On Xiaomi/Poco: Go to Settings > Additional Settings > Developer options.
Step 3: Toggle USB Debugging
Inside the Developer Options menu, scroll down until you see the Debugging section.
Find the switch for USB Debugging and toggle it ON.
A warning prompt will appear explaining the risks. Tap OK or Accept.
Step 4: The “Always Trust” Pop-up
The first time you plug your phone into your computer with this turned on, look at your phone screen! A pop-up will appear asking: “Allow USB debugging?”
Pro Tip: Check the box that says “Always allow from this computer” before tapping Allow. If you don’t, the connection might drop as soon as you try to run a command.
Wait! One last thing: If you are trying to use this to delete apps or mirror your screen, you might also need to toggle “Install via USB” (common on Xiaomi/Poco/Realme) located right below the main debugging switch.
Is USB Debugging safe?
Yes – if used correctly.
But leaving it ON all the time is not a good idea.
Imagine leaving a side door unlocked. If your phone is lost or plugged into an unknown charging port, someone with the right tools could access your data.
Best practice:
✅ Turn it ON when needed
❌ Turn it OFF when done
Simple rule, big safety win.
Now you know
USB Debugging isn’t dangerous – it’s just powerful.
For everyday users, it can:
Save data
Fix problems
Unlock advanced features
Just treat it like a tool, not a permanent setting.